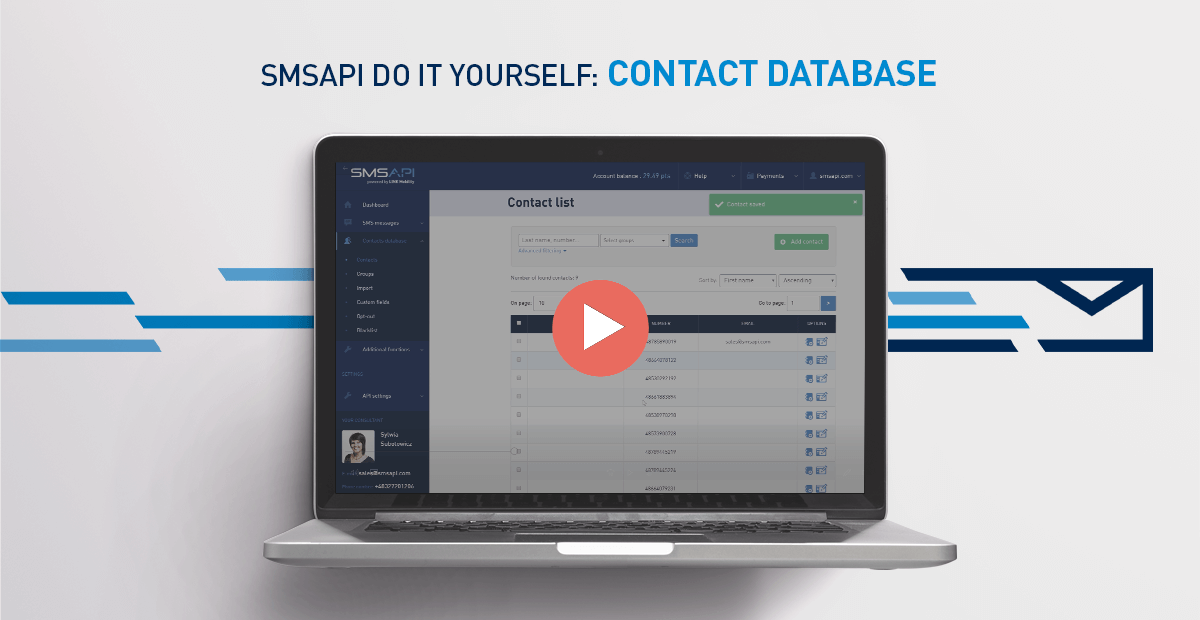
Welcome to the next part of the SMSAPI Do it yourself video Guide. Today, you will learn how to create, upload and import contacts or even whole databases for your SMS campaigns. Let’s get started!
Watch the video guide on how to manage contact databases
Adding new contacts
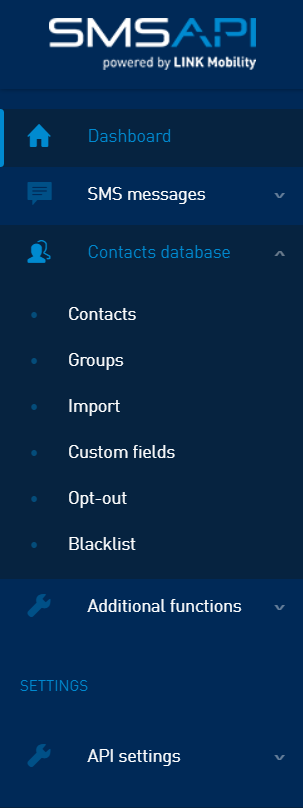
To add a single contact, go to the “Contact database” tab, select “Contacts” and “Add contact”. If you want to assign the given record to one or more groups of recipients, e.g. “regular clients” and “online clients”. Create such groups earlier in the Groups tab or add them while adding a new contact.
In addition to the name, surname, telephone number and e-mail address, it is also possible to add or fill in any other parameters. You will use those custom fields later on to personalize your SMS messages.
Besides the default custom fields, you can enter your own. In the case of e-commerce, it can be, e.g., a favourite brand, shoe size or product type. A list of all your custom fields is in the “Custom fields” menu.
In the Contacts tab, you can also sort, edit existing contacts and add the number to the sending list. After adding the phone numbers, the list will be available in the upper right corner of the Customer Portal.
In the Groups section, it is possible to search and edit existing groups. You can create a new one by clicking the “Add group” button.
Importing contacts
The Import tab allows you to upload contacts in two ways: from a file, and by entering numbers using copy-paste method in the text field. The system imports data from CSV, XLS, XLSX and ODS spreadsheets.
During import, different values will be automatically detected, and in the next step, it will be possible to name them with the corresponding type of field, e.g. name, surname, telephone number. To assign imported contacts to a group, you must first create it or select an existing one.
Duplicated contacts
To send bulk SMS campaign to the imported database go to SMS Gateway, and then Numbers from the phonebook. Then choose a sender name, name your bulk and choose one of your groups that you have previously added. Follow the typical path of creating the body of the message, add links, parameters and click Next.
You will learn more about sending SMS campaigns from the SMS Gateway to imported databases in the 3rd episode.
Other database management tools
Let’s come back to the Contact Database menu. In the Custom fields section, it is possible to edit and add your custom fields.
Using the opt-out list
The Opt-out menu contains all contacts who have unsubscribed using the opt-out link in the SMS, which is added when creating content in the SMS gateway. It automatically eliminates the phone number from future campaigns. You can also permanently delete the contacts listed here.
Blacklisting a number
The Blacklist tab allows you to add phone numbers that will be excluded from all messages sent from a SMSAPI account. Numbers can be added individually or by import from a CSV file.
When adding, it is also possible to enter an expiration date that specifies when the campaigns to a given number are to be blocked. Leaving the expiration date field blank causes indefinite blacklisting. The entered numbers can also be exported to a CSV file or cleared with a single button.
Next step: Building Your Own Customer Base with Newsletter SMS


